
An LED dome inspection is the point where a project stops being a rendering and becomes an asset — and it is the stage buyers are usually least prepared for. Flat-panel acceptance is familiar territory: one wall, one viewing distance, a handful of test patterns. A spherical screen breaks every one of those assumptions. Viewing distances inside a 22 m dome vary by a factor of four or more, the surface curves away from the viewer in every direction, and the same lamp that reads bright at the center of gaze sits at a grazing angle near the spring line.
Luminatii Technology Co., Ltd. has delivered more than 20 large LED dome projects between 5 m and 60 m in diameter, including the 60 m, 5,300 m² dome on Kongtong Island in Shandong and the paired 22 m and 28 m domes at the Huangshi dinosaur park that entered operation in June 2024. Handover disputes rarely come from bad hardware. They come from tests that were never defined before fabrication started, so both sides arrive on site with different definitions of "uniform," "seamless" and "in sync."
What follows is the protocol our engineering team runs, written so that an owner's representative can execute it with a luminance meter, a camera, a tape measure and a notebook. It covers one factory gate, six on-site tests, the structural checks that usually get skipped, and the paperwork that should be signed before final payment is released.
Why an LED Dome Inspection Cannot Copy a Flat-Wall Checklist
Three properties of a sphere change the test design.
Angle-dependent luminance. LED lamps lose intensity off axis. On a flat wall, every measurement point sits at roughly the same angle to the viewer. On a dome, a point 40 degrees off the sight line can read measurably lower than one directly ahead even though the module is perfectly healthy. If your acceptance clause says "no point may deviate more than 5 percent from the brightest point," measured from a single seat, you have written a clause that a correct screen cannot pass. Fix the measurement geometry in the contract: instrument distance, instrument angle, and the reference value the grid is normalized against.
Test patterns must live in dome space. A checkerboard exported as a flat image and wrapped over the sphere will be distorted by the playback mapping, so a wavy grid line tells you nothing about the hardware. Ask for patterns rendered by the dome playback system itself — full-field color, gray ramps and a latitude-longitude grid — so that a distortion means a genuine mapping or module fault.
Seams are optical, not only mechanical. Two modules can be perfectly flush and still show a visible line, because near the apex the pixel density per degree of view is highest and the eye is most sensitive there. Seam inspection has to happen from the seats, at the viewing angles the audience will actually use.
The Factory Gate: What to Inspect Before the Screen Ships
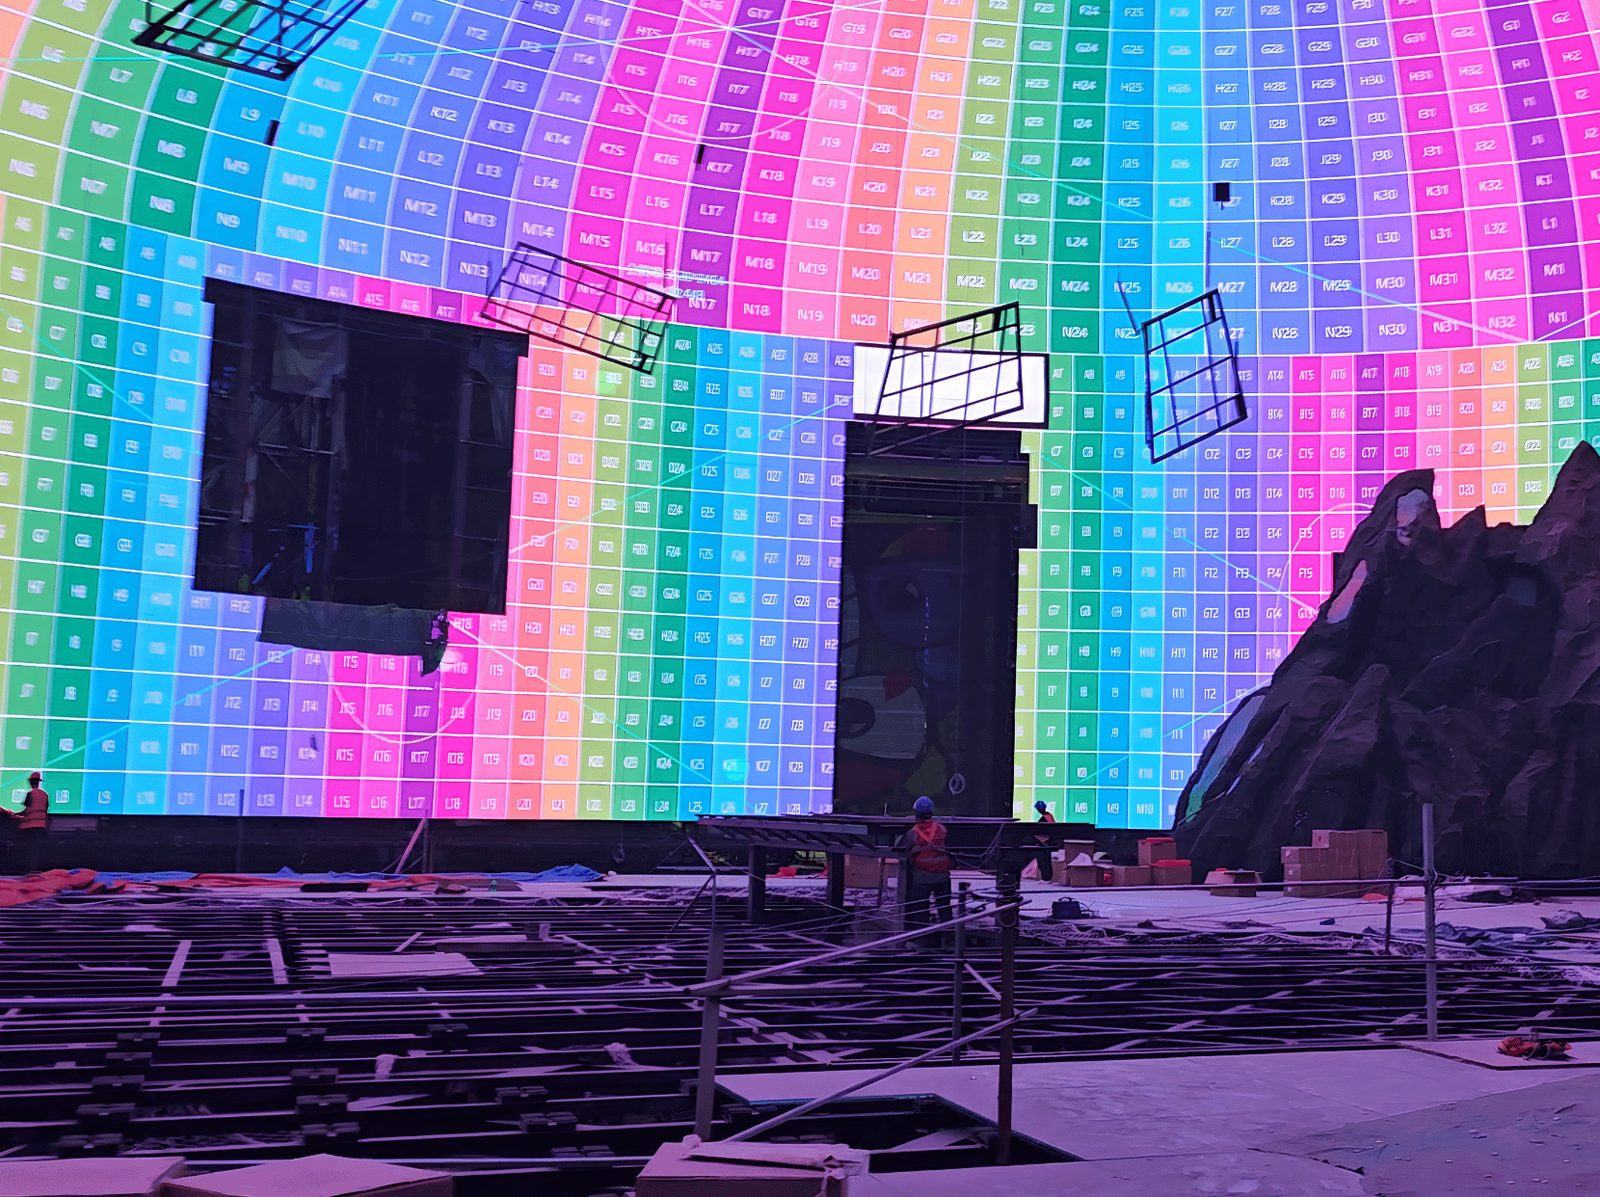
Most acceptance failures are decided months before anyone reaches the site. Module binning, calibration and aging are factory processes, and a buyer who inspects only the finished dome is inspecting the last five percent of the quality chain. Ask to see four things at the production base:
- Module-level calibration data. Each module should carry its own correction coefficients. Spot-check a random pallet: the file should exist per module, not per batch.
- A live test wall. Modules from the same production run mounted side by side, driven with full white and a low-gray ramp. Binning errors show up here as patchwork long before they show up on a sphere.
- Aging records. Modules should complete a burn-in period at the factory before packing, which is where early lamp and driver failures surface. Ask how many modules were rejected during aging and against what criterion — a supplier with no rejects either has no process or is not measuring.
- A dry-fit of one ring. Triangular and trapezoidal modules plus XY-adjustable connectors are what make a gapless sphere possible. One ring assembled on the floor tells you more about joint quality than any drawing.
Weight is worth verifying here as well. The Kongtong dome screen weighs 8.5 kg/m² against a common industry range of 15 to 25 kg/m² for comparable product. That difference propagates into steel tonnage, hoist capacity and deflection, so weigh a packed pallet and compare it against the structural calculation instead of accepting the datasheet.
The Six On-Site Tests That Decide Acceptance
A complete LED dome inspection runs these in order, because a seam fault will contaminate a uniformity reading taken afterward.
1. Solid-color field test
Drive full-field red, green, blue and white at 1,200 nit and walk the seating bowl, not just the center aisle. You are looking for dark modules, single-color modules and broad patches of mura that indicate binning or calibration gaps. Photograph each field from at least three seat positions with the camera locked to manual exposure; auto-exposure will hide exactly the variation you are trying to find.
2. Grayscale step test
With 16-bit grayscale processing, the screen should hold smooth transitions from black to white. The informative part is at the bottom: the first three or four visible steps. Banding there, or a step that shifts green or magenta, points to a calibration or driver issue that will be visible in dark scenes for the life of the dome. Watch for low-gray flicker too, which usually appears near the edges of the field rather than at the center.
3. Uniformity grid measurement
Define the grid in the contract. For a 60 m dome, 30 to 50 points distributed across the shell is workable in a single evening. Measure luminance at each point from a fixed position with the meter square to the surface, then normalize against the reference point. The acceptance number is a deviation of no more than 5 percent. Record raw readings rather than pass or fail: that table is what lets you distinguish a calibration problem from a failing power supply six months later.
4. Color consistency and ΔE sampling
Sample modules in the low, middle and upper zones and measure chromaticity against the white reference. Luminatii screens are specified at 2ΔE or better with an NTSC gamut above 90 percent. Sample deliberately at the spring line and near the apex rather than only at eye level, because those are the zones where production tolerance and installation stress accumulate.
5. Seam, geometry and module-step inspection
Walk the rear access route and check joint gaps and step offsets with a feeler gauge, then repeat the check from the seats with the screen lit white at low brightness. A step that is invisible at full white can be obvious in a 10 percent gray field. Record gaps at ring joints separately from gaps at module joints; they fail for different reasons, one being assembly tolerance and the other connector adjustment.
6. Audio-visual sync and acoustic transparency
This is the test most often improvised and most often argued about. On an acoustically transparent dome with 50 percent open area and measured transmission loss under 5 percent, the loudspeakers sit behind the screen. Play pink noise and measure SPL in front of and behind the shell with the same meter; then run a flash-and-click event and film it at a high frame rate so you can count the offset in frames instead of estimating it. The specified sync error is under 0.02 seconds. If your content pipeline adds its own delay, test with the playback server in the loop rather than with a signal generator.
| Test | What you measure | Pass criteria | Typical failure |
|---|---|---|---|
| White field uniformity | Luminance at 30–50 grid points, normalized | Deviation ≤ 5 percent | Binning gaps, uncalibrated modules |
| Color consistency | Chromaticity of sampled modules | ≤ 2ΔE, NTSC 90 percent and above | Mixed lamp batches, zone calibration |
| Grayscale | First visible steps, banding, flicker | 16-bit smooth ramp, no color shift | Driver settings, low-gray calibration |
| Seams and geometry | Joint gaps, step offsets, radius deviation | Within the written contract tolerance | Connector adjustment, assembly sequence |
| Audio-visual sync | Frame offset of flash and click | Under 0.02 seconds | Server latency, speaker delay settings |
| Power draw | Feeder current at full white | Matches the calculated load | Driver efficiency, phase imbalance |
Structural and Environmental Checks Buyers Usually Forget
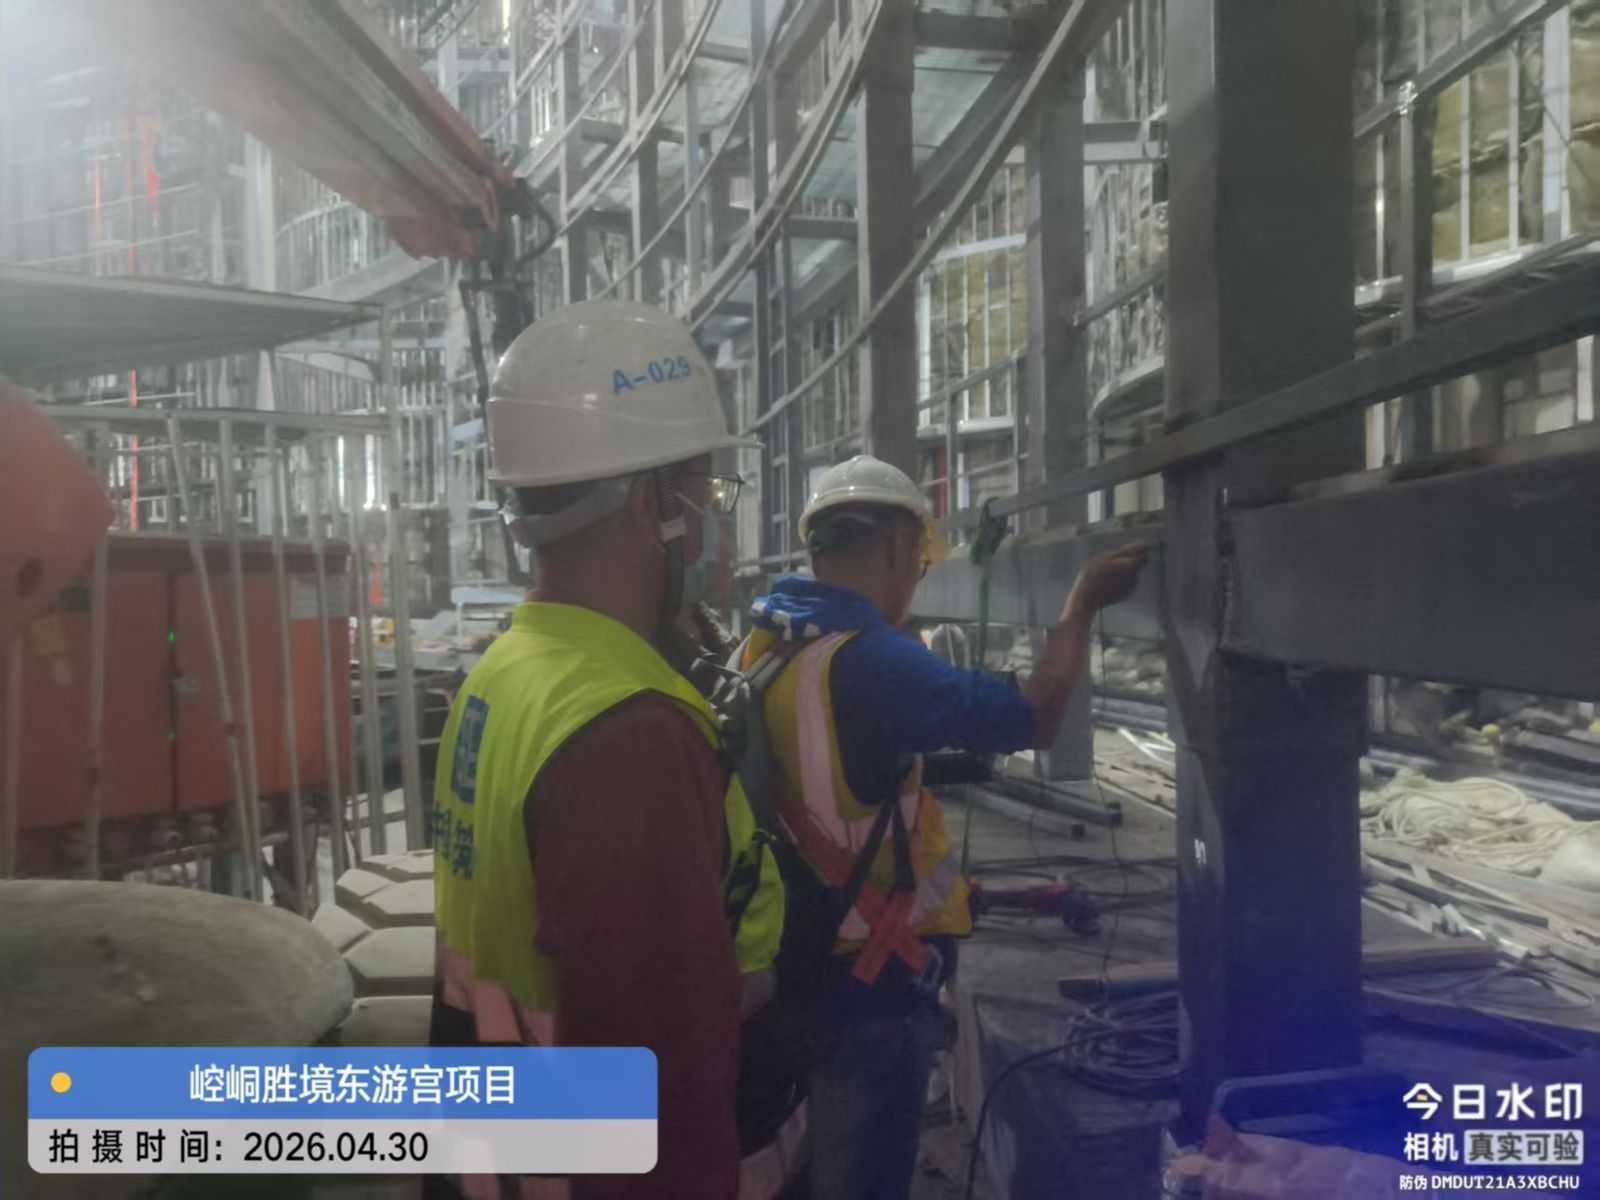
The screen is the visible half of the deliverable. The half that decides whether it is still straight in five years is steel, sealing and access.
Steel and welds. A dome structure is designed against the loads at its own site — dead load, wind, seismic — and that calculation belongs in the handover file with the actual section sizes, not a generic drawing. On the Kongtong project, welds were examined by non-destructive testing and accepted against recorded results, and welding consumables were sampled with witnesses. Ask for inspection records organized by joint number. A structural sign-off without NDT records is an opinion.
Ingress protection. Outdoor domes and spheres are specified at IP65 with moisture, dust and salt-spray measures; indoor domes sit around IP54. The check that matters is not the certificate but the detail: gasket compression at module edges, sealed cable entries, and whether any harness is exposed on the screen face. On Luminatii screens the AC and data cabling runs inside the cabinet, so the visible surface should carry no loose wiring at all.
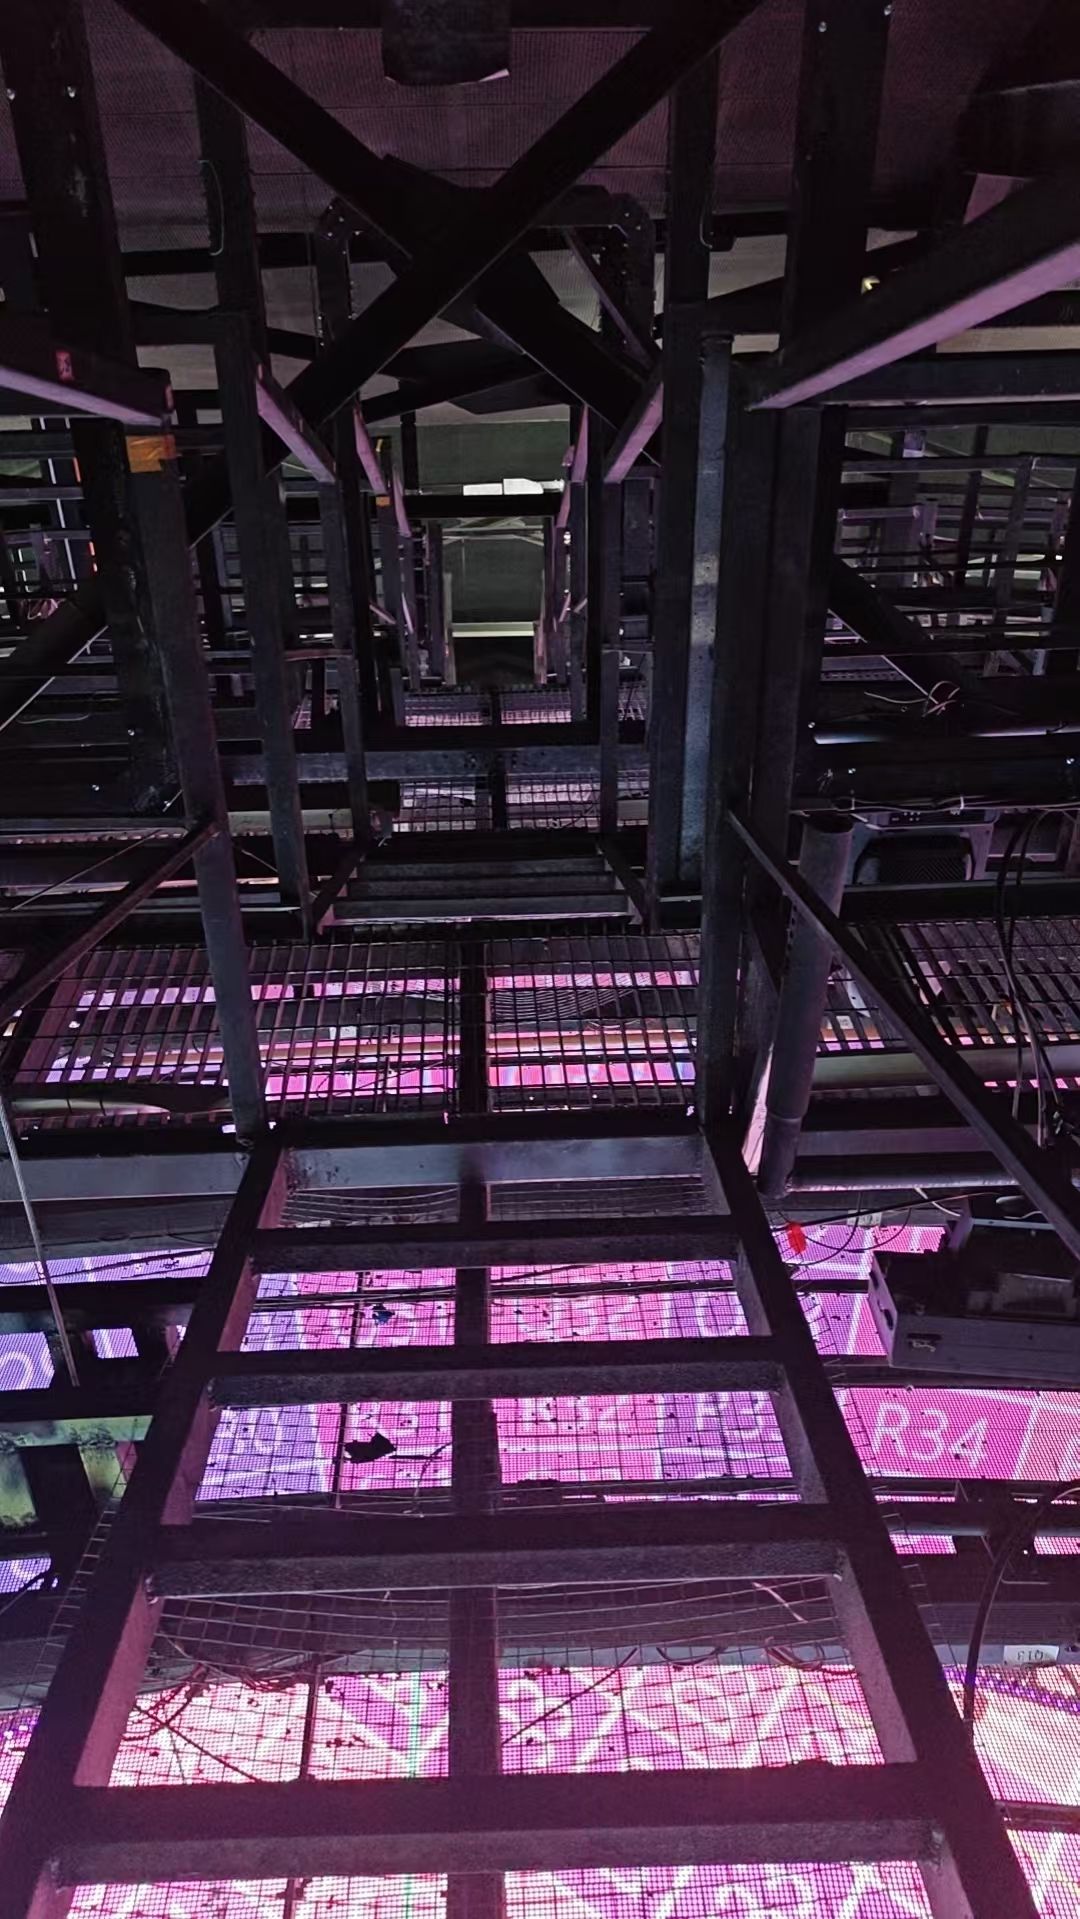
Access. Walk the rear maintenance route before you accept the screen, because you will live with it for a decade. Perimeter clearance is typically 2 to 3 m. Confirm that one technician can remove and refit a module from behind without dismantling the neighboring row, and confirm that the parallel drive design does what it claims: pull one lamp and verify that its neighbors stay lit at correct brightness.
Power. At 1,200 nit full white the screen draws about 150 W/m², so the 5,300 m² Kongtong dome lands near 795 kW at peak. Clamp the main feeder during the white field test and compare the result with the calculated figure. A significant gap means either a driver problem or a brightness setting that will not be met on opening night. Lifting floor screens run higher, around 210 W/m², and need their own circuit discipline because they move.
Burn-In, Punch List and the Paperwork That Ends the Project
Do not sign acceptance on the day the last module goes in. Run the dome unattended for a continuous stretch long enough to expose infant mortality: several days of looping content at working brightness, with the mechanical systems cycling if the venue has them. Log every module that fails in that window and every parameter that drifts. A screen that passes a two-hour demo and fails in week three has not been accepted, it has been photographed.
The punch list should name an owner and a date for each item, and the warranty clock should start at acceptance sign-off rather than at shipment. Insist on a spare-parts kit sized to the dome: modules in every geometry used on the shell, driver cards, power supplies, and a backup of the calibration files. A 60 m shell uses modules in several shapes, and a spare that fits the equator will not fit the apex.
Finally, collect the documentation in one place: as-built structure drawings, NDT records, calibration files, the uniformity grid readings you took, the sync measurement, control system credentials and a maintenance schedule. Teams change. In four years the engineer who commissioned the dome will be gone, and those files are the only thing that will let a new technician treat the screen as an engineered system rather than a black box.
FAQ: LED Dome Inspection Questions Buyers Ask
How is brightness uniformity measured on a curved screen without rejecting a good dome?
Fix the measurement geometry first. State the instrument distance, keep the meter square to the surface at every point, and normalize each reading against a defined reference rather than against the brightest pixel you happen to find. Then compare the spread against the 5 percent specification. Most disputes come from an undefined reference, not from a defective screen.
What happens if a single LED fails during inspection?
On a parallel-drive design, a single lamp failure does not spread to its neighbors, so the module keeps working at slightly reduced output. That is a maintenance event, not an acceptance failure. What does fail acceptance is a cluster of failures, a dark module, or a driver that drops a whole scan line. Write that distinction into the contract as a module-level rejection rule, so neither side is negotiating definitions at handover.
Can audio-visual sync be verified without lab equipment?
Yes. Film a flash-and-click event with a camera at a high frame rate and count the frames between the flash and the sound transient. At 240 frames per second one frame is about 0.004 seconds, fine enough to confirm a 0.02 second limit with margin. Run it through the real playback server, because that is where most of the delay lives.
Should acceptance happen before or after the content is loaded?
Test patterns first, content second. Hardware faults are far easier to isolate against solid fields and ramps than against a film. Load the show afterward and run a full-length playback inside the burn-in window, which is where mapping errors, timing problems on domes with mechanical screens, and server performance issues appear.
Who should witness the tests?
The owner's technical representative, the integrator if there is one, and the manufacturer's commissioning engineer, with readings recorded on a shared sheet in real time. A test written down after the fact is a memory, not a record.
If you are preparing an acceptance protocol for an upcoming dome or sphere project, our engineering team can review your specification before fabrication starts — the cheapest moment to fix a clause that no correct screen could pass. Talk to Luminatii about your project, or review the LED dome screen range, the delivered projects and the technical FAQ. For the pixel-level decisions that sit upstream of any inspection, see our guide to LED dome pixel pitch.